- Made by AppCoda
- Contact us / Support
- Tweet this book
- Preface
- 1. The Development Tools, the Learning Approach, and the App Idea
- 2. Your First Taste of Swift with Playgrounds
- 3. Build Your First App in Swift and SwiftUI
- 4. Designing UI Using Stack Views
- 5. Introduction to Prototyping
- 6. Understanding List and ForEach
- 7. Customizing List Views
- 8. Displaying Confirmations and Handling List View Selection
- 9. Understanding Struct, Project Organization and Code Documentation
- 10. List Deletion, Swipe Actions, Context Menus and Activity Controller
- 11. Working with Navigation View
- 12. Detail View Enhancement, Custom Fonts and Navigation Bar Customization
- 13. Understanding Colors, Swift Extensions and Dynamic Type
- 14. Working with Maps
- 15. View Animations and Blur Effect
- 16. Working with Observable Objects and Combine
- 17. Working with Forms and Camera
- 18. Working with Core Data
- 19. Adding a Search Bar Using Searchable
- 20. Building Walkthrough Screens Using TabView
- 21. Working with Tab View and Tab Bar Customizations
- 22. Displaying Web Content with WKWebView and SFSafariViewController
- 23. Working with CloudKit
- 24. Localizing Your App to Support Multiple Languages
- 25. Deploying and Testing Your App on a Real iOS Device
- 26. Beta Testing with TestFlight and CloudKit Production Deployment
- 27. Submit Your App to App Store
- 28. Adopting Haptic Touch
- 29. Working with User Notifications
- 30. Appendix - Swift Basics
- Published with GitBook
Chapter 22
Displaying Web Content with WKWebView and SFSafariViewController

I've got a theory that if you give 100% all of the time, somehow things will work out in the end.
- Larry Bird
It is very common you need to display web content in your apps. The iOS SDK provides three options for developers to show web content:
- Mobile Safari - the iOS SDK provides APIs for you to open a specific URL in the built-in Mobile Safari browser. In this case, your users temporarily leave the application and switch to Safari.
- WKWebView - This view allows developers to embed web content in your app. You can think of
WKWebViewas a stripped-down version of Safari. It is responsible to load a URL request and display the web content.WKWebViewhas the benefit of the Nitro JavaScript engine and offers more features. If you just need to display a specific web page,WKWebViewis the best option for this scenario. - SFSafariViewController - this is a new controller introduced in iOS 9. While
WKWebViewallows you to embed web content in your apps, you have to build a custom web view to offer a complete web browsing experience. For example,WKWebViewdoesn't come with the Back/Forward button that lets users navigate back and forth the browsing history. In order to provide the feature, you have to develop a custom web browser usingWKWebView. In iOS 9, Apple introducedSFSafariViewControllerto save developers from creating our own web browser. By usingSFSafariViewController, your users can enjoy all the features of Mobile Safari without leaving your apps.
In this chapter, I will walk you through all the options and show you how to use them to display web content. For both WKWebView and SFSafariViewController, we will need to make use of UIViewRepresentable and UIViewControllerRepresentable to integrate with these components because they are only available in UIKit.
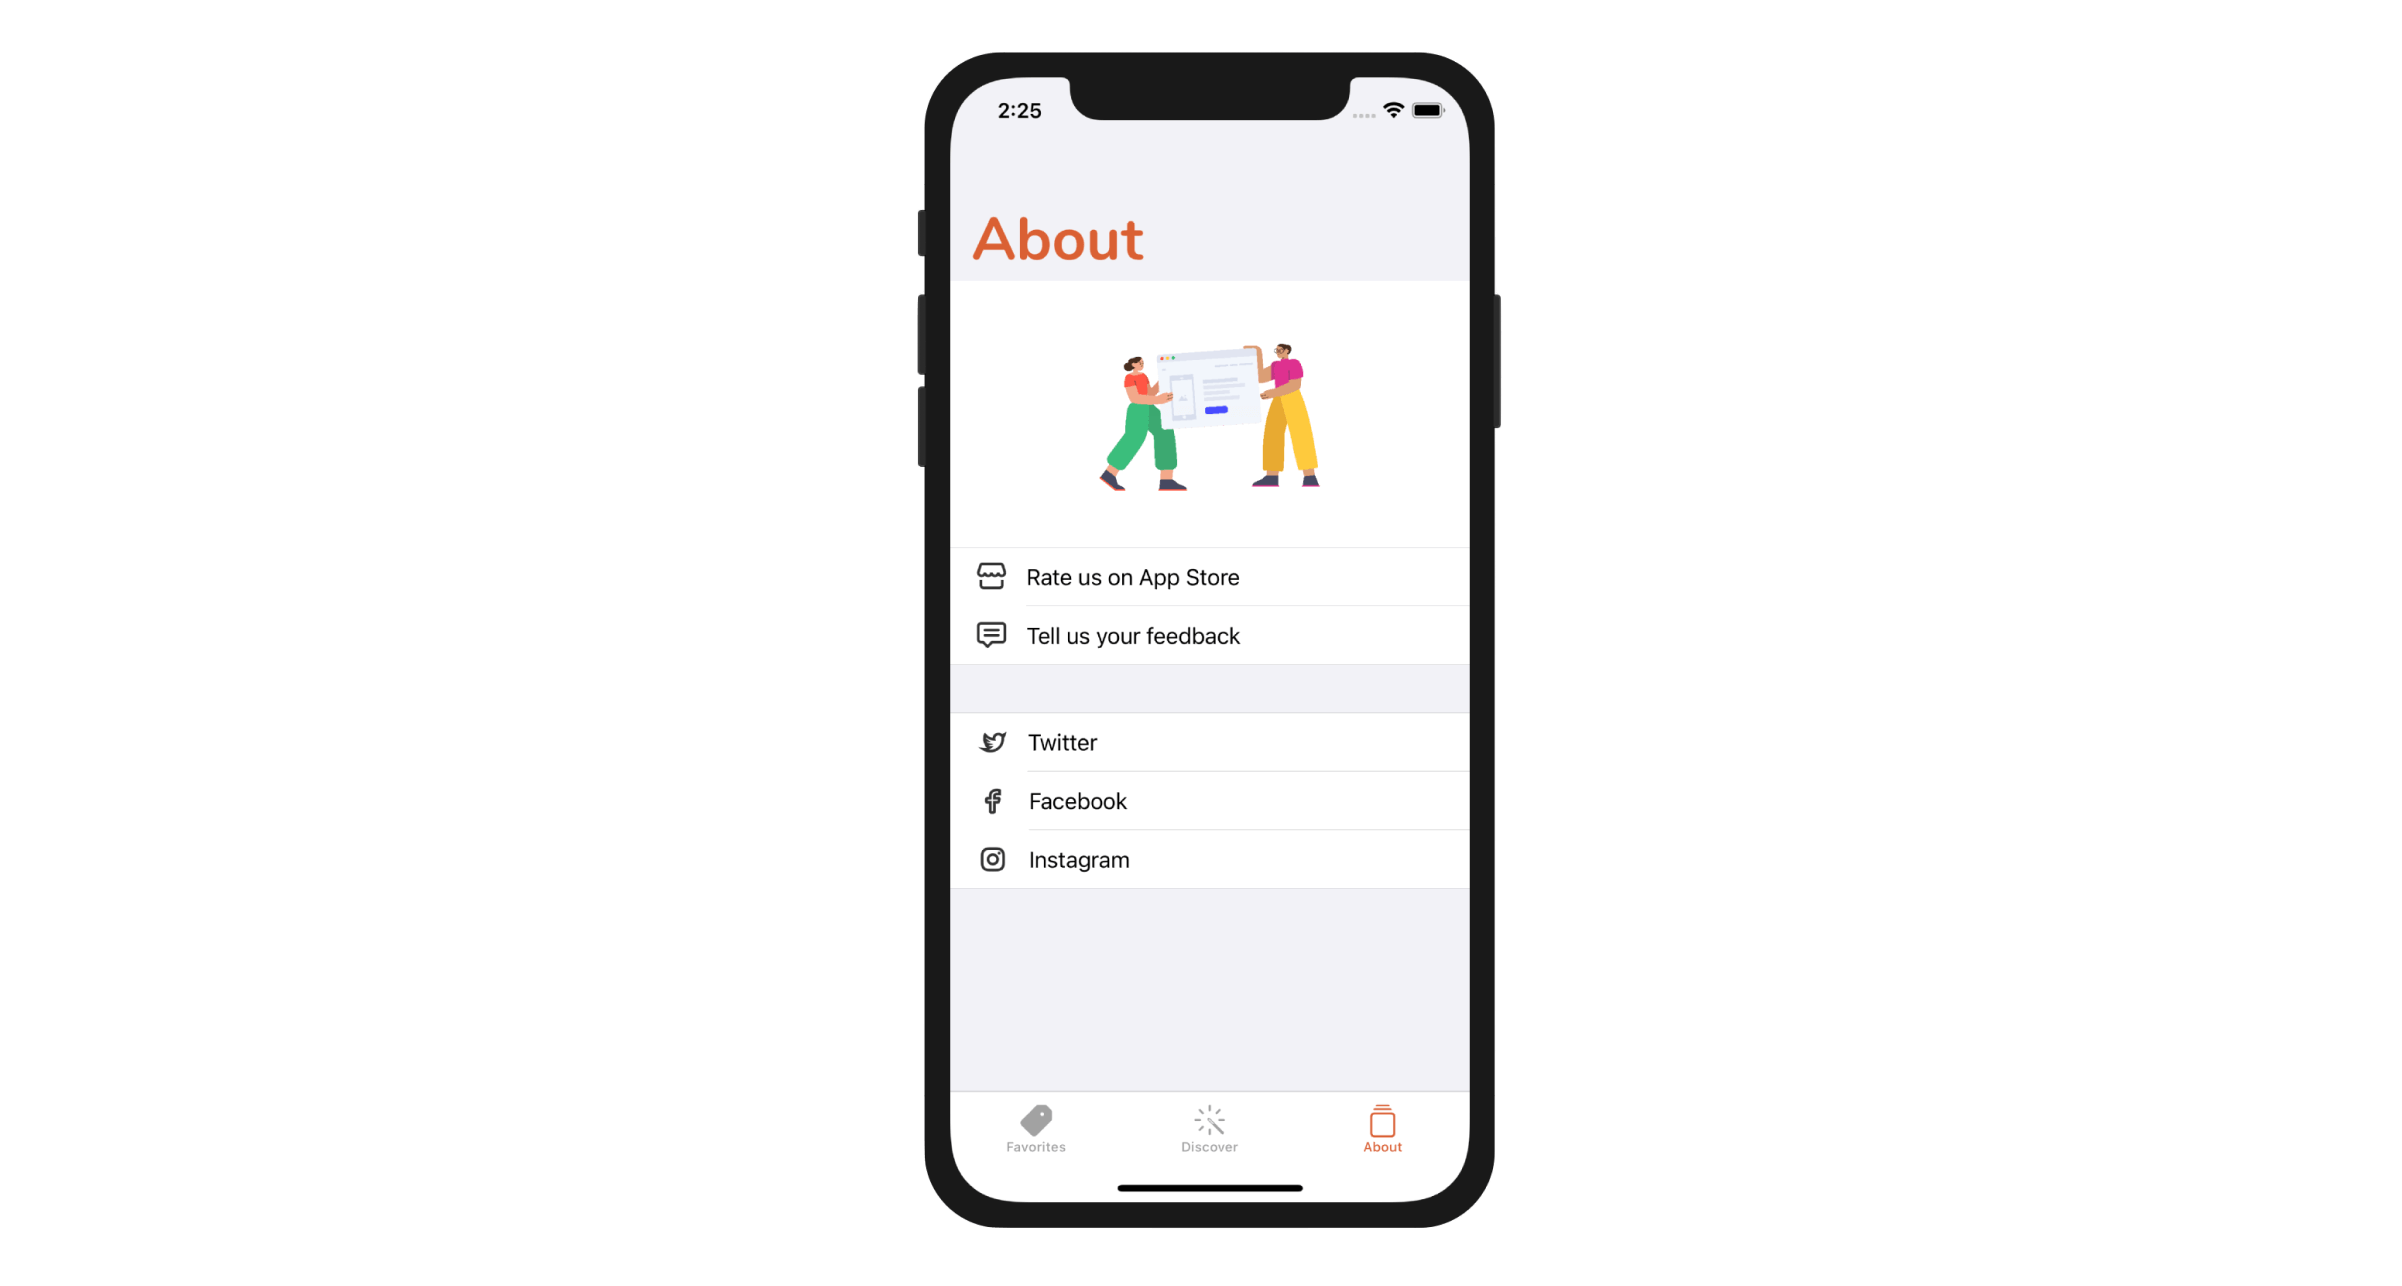
To demonstrate how to show web content in SwiftUI, we will build the About tab to display three options:
- Rate us on App Store - when selected, we will load a specific iTunes link in Mobile Safari. Users will leave the current app and switch to the App Store.
- Tell us your feedback - when selected, we will load a Contact Us web page using WKWebView.
- Twitter / Facebook / Instagram - Each of these items has its own link for the corresponding social profile. We will use SFSafariViewController to load these links.
Sounds interesting, right? Let's get started.
Designing the About View
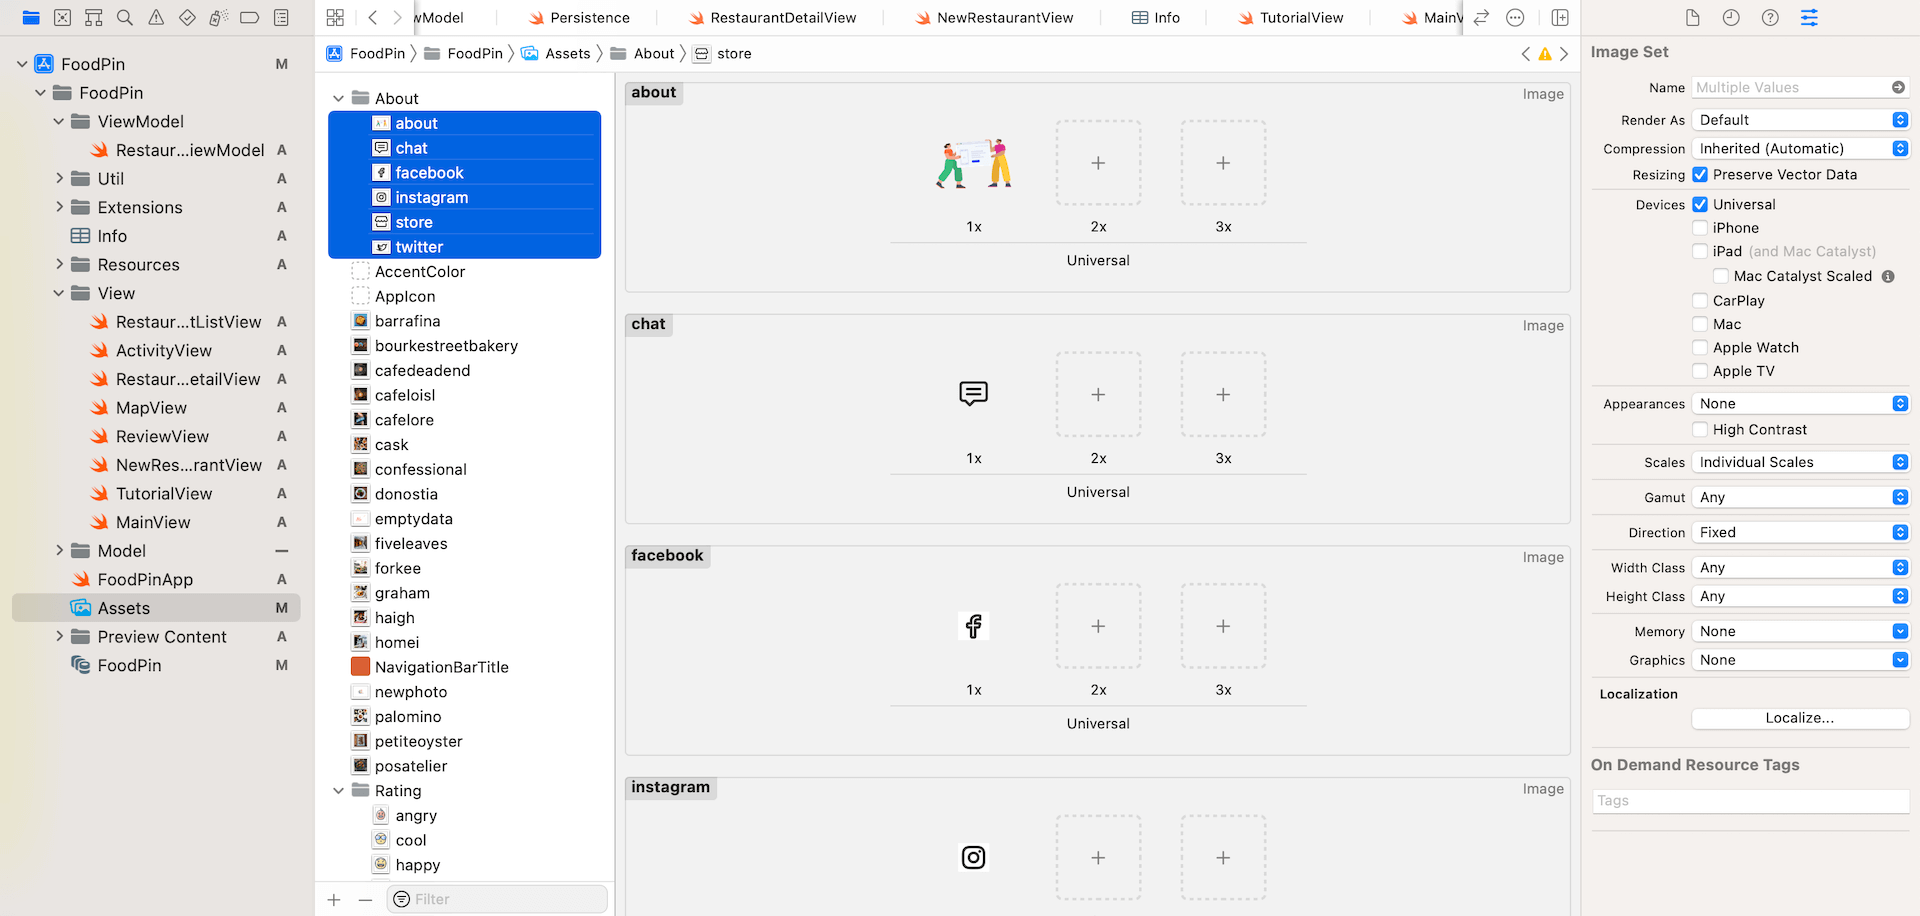
First, download the image pack from http://www.appcoda.com/resources/swift53/abouticons.zip and import the images into Assets.xcasset.
Next, we will create a separate file for the About view. In the project navigator, right click the View folder and choose New File.... Select the SwiftUI View template and name the file AboutView.swift.
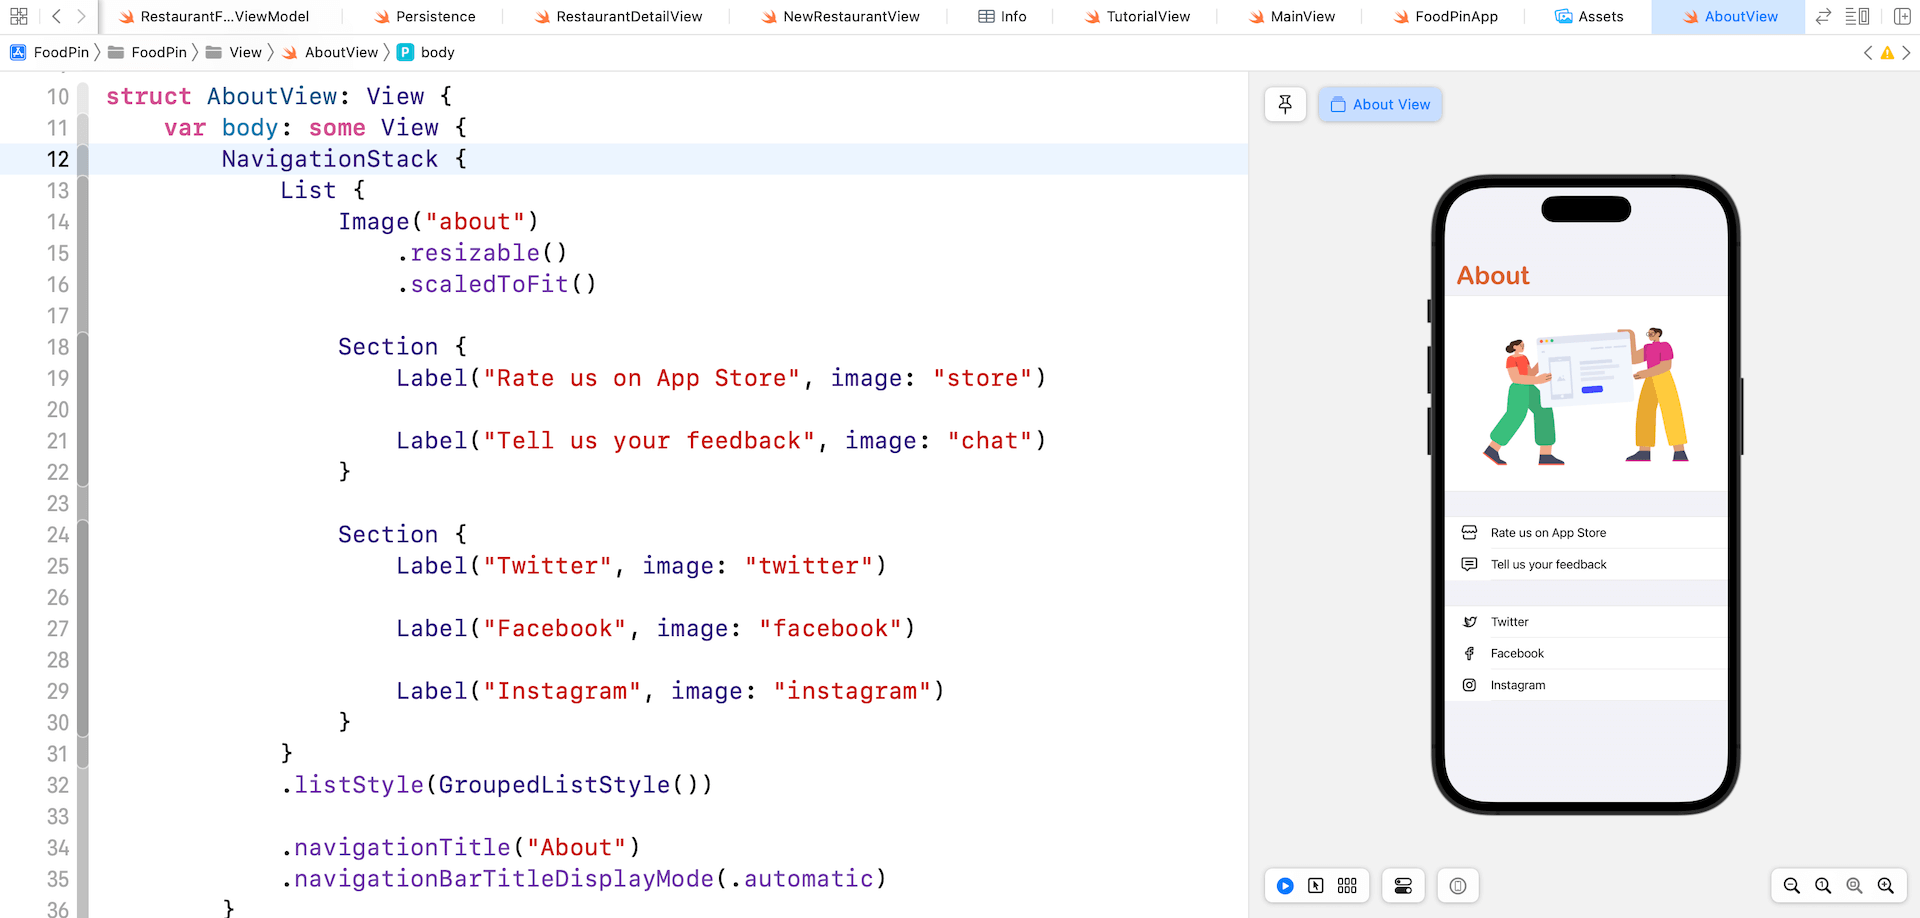
Once created, update the AboutView struct like this:
struct AboutView: View {
    var body: some View {
        NavigationStack {
            List {
                Image("about")
                    .resizable()
                    .scaledToFit()

                Section {
                    Label("Rate us on App Store", image: "store")

                    Label("Tell us your feedback", image: "chat")
                }

                Section {
                    Label("Twitter", image: "twitter")

                    Label("Facebook", image: "facebook")

                    Label("Instagram", image: "instagram")
                }
            }
            .listStyle(GroupedListStyle())

            .navigationTitle("About")
            .navigationBarTitleDisplayMode(.automatic)
        }
    }
}
We use a List view to present the available options. For the List view, it has built-in support for sections. In the code above, we created two sections: one presents buttons for user feedback and the other for showing the social profiles. By setting the list style to GroupedListStyle(), SwiftUI automatically separates the sections with a blank row in gray.
To display a navigation title, we embed the List view in a navigation view. Figure 22-3 displays the preview of the List view with sections.
Preparing the Links
When a user taps one of the options, the app will open the corresponding web link. We will use a enum to store the link for the options. Declare the following enum in AboutView:
enum WebLink: String {
    case rateUs = "https://www.apple.com/ios/app-store"
    case feedback = "https://www.appcoda.com/contact"
    case twitter = "https://www.twitter.com/appcodamobile"
    case facebook = "https://www.facebook.com/appcodamobile"
    case instagram = "https://www.instagram.com/appcodadotcom"
}
Opening Safari Using Link
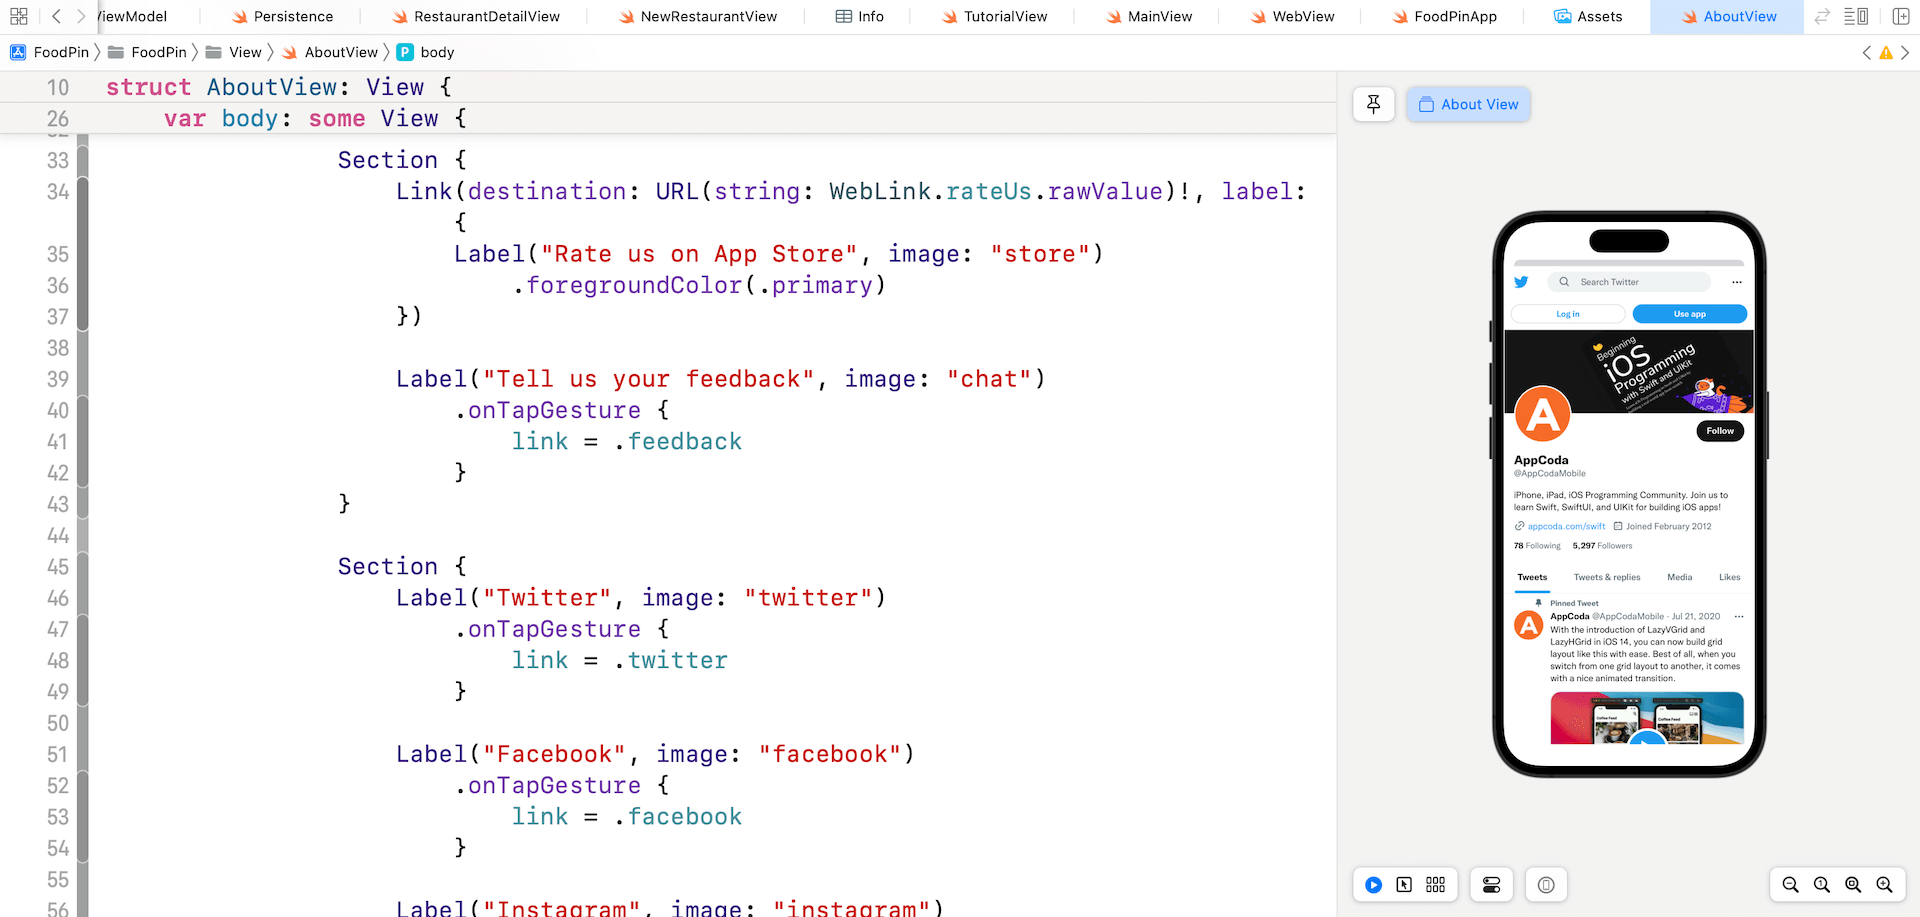
As I mentioned at the very beginning of the chapter, I would show you three different approaches to display a web page. For the Rate us on App Store item, the app will redirect the user to the built-in Safari browser to display the URL. SwiftUI has a native view component called Link for this purpose. You can simply wrap the Label of Rate us on App Store like this to enable the web link:
Link(destination: URL(string: WebLink.rateUs.rawValue)!, label: {
    Label("Rate us on App Store", image: "store")
        .foregroundColor(.primary)
})
The destination parameter accepts the URL object of the target URL. Here, we pass it the rateUS URL stored in the WebLink enum. We add the foregroundColor modifier to the Label to change the text color to black. By default, all web links are displayed in blue if you don't make any changes.
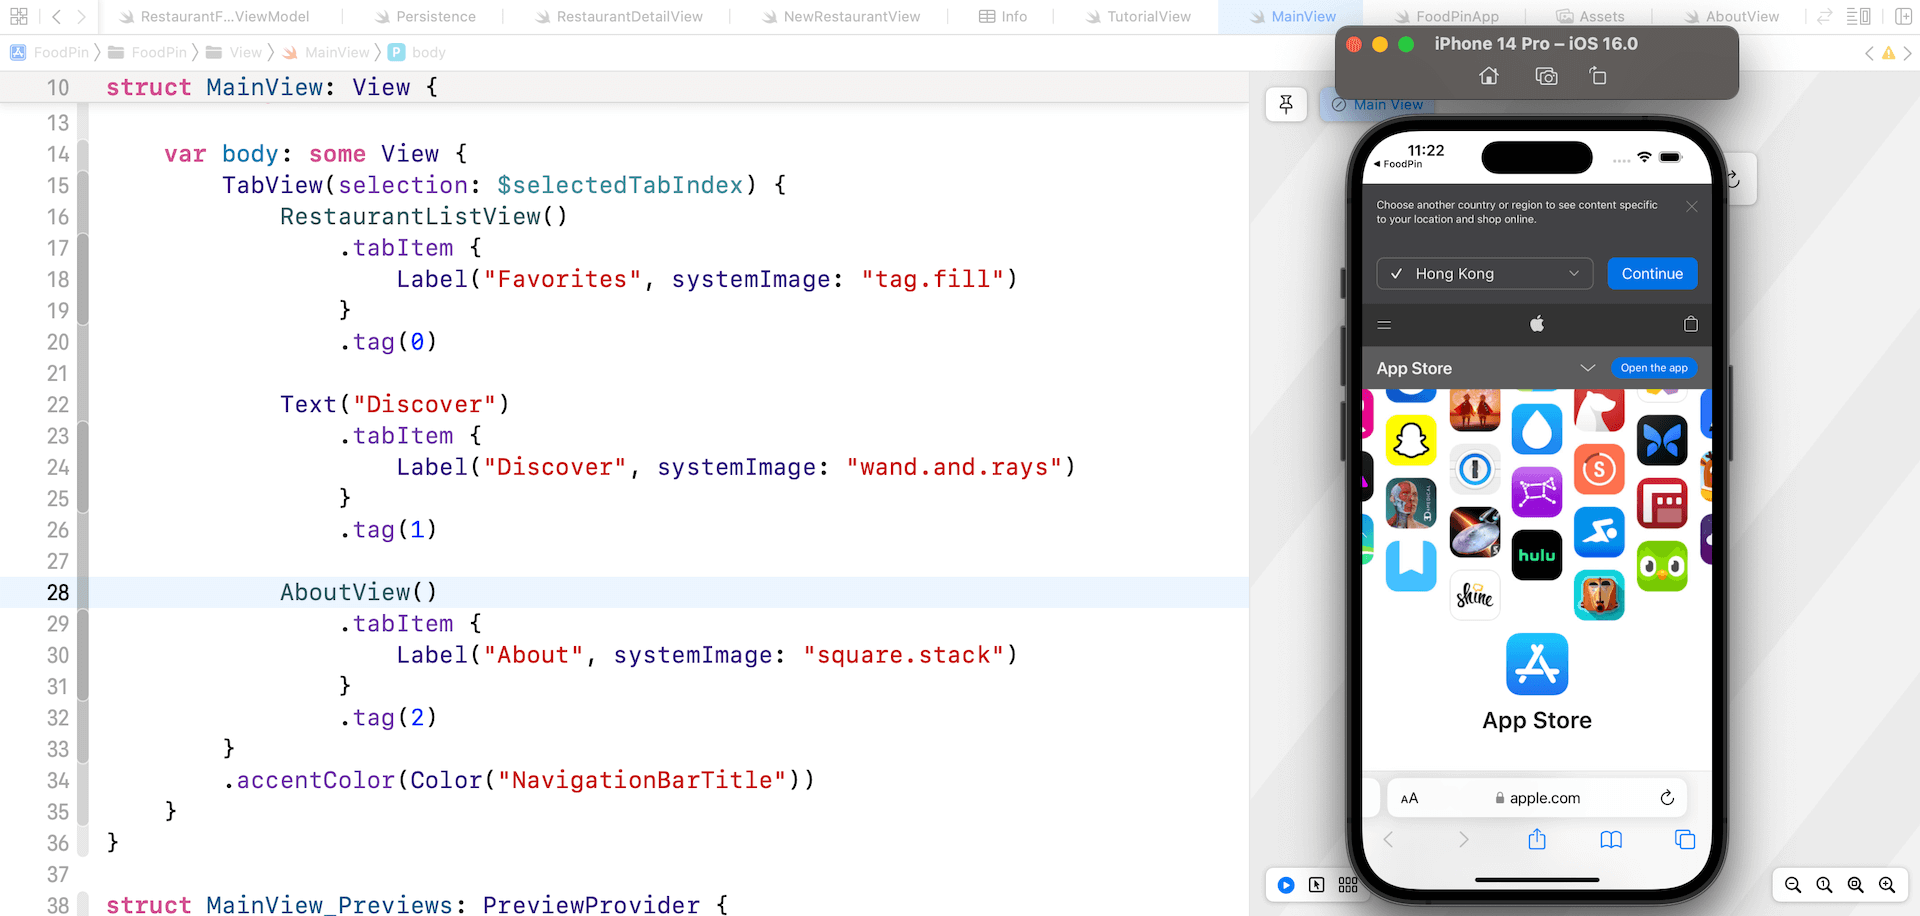
You can't test the Link feature in the preview pane. However, in order to test it in a simulator, we need to modify the MainView.swift file. In MainView, replace Text("About") with AboutView() like this:
AboutView()
    .tabItem {
        Label("About", systemImage: "square.stack")
    }
    .tag(2)
Instead of displaying a text view, we now use the AboutView. Run the app in any simulator and switch over the About tab. The app will open the Safari browser when you tap the Rate us on App Store button.
Using WKWebView
Now that you should understand the usage of Link, let's check out how to embed a web view in the app. For the Tell us your feedback and the social profiles, we will open the links by embedding a web browser in the app. You can either display the web content using WKWebView or SFSafariViewController. In this section, I will show you how to do it using WKWebView, followed by SFSafariViewController in the next section.
Again, these two components are not available in SwiftUI. We need to tap into the UIKit framework and create our own view using UIViewRepresentable.
In the project navigator, right click the View folder and choose New File.... Select the Swift File template and name the file WebView.swift. Replace the file content like this:
import SwiftUI
import WebKit

struct WebView: UIViewRepresentable {

    var url: URL

    func makeUIView(context: Context) -> WKWebView {
        return WKWebView()
    }

    func updateUIView(_ webView: WKWebView, context: Context) {
        let request = URLRequest(url: url)
        webView.load(request)
    }
}
WKWebView is stored in the WebKit framework. This is why we need to import it at the very beginning. The WebView struct adopts the UIViewRepresentable protocol and implement the required methods. We return the WKWebView object in the makeUIView method and load the given URL in the updateUIView method.
Now it is ready to use WebView in our SwiftUI project. Switch over to AboutView.swift and add a state variable to store the current link:
@State private var link: WebLink?
To bring up the web view, attach the .sheet modifier to the List view:
.sheet(item: $link) { item in
    if let url = URL(string: item.rawValue) {
        WebView(url: url)
    }
}
The .sheet modifier monitors the change of the link variable. If it's set to the specific URL, we create an instance of WebView and display the web content.
As soon as you added the sheet modifier, Xcode shows you the following error:
Instance method 'sheet(item:onDismiss:content:)' requires that 'AboutView.WebLink' conform to 'Identifiable'
What it said is that the WebLink type should conform to the Identifiable protocol. By referring to the official documentation, the Identifiable protocol is used to provide a stable notion of identity to a class or value type. The sheet modifier requires us to provide an item that conforms to the protocol.
So, how can we fix the error? Or how can we make WebLink to conform the Identificable protocol?
It's pretty easy to adopt the protocol. All you need is to add an id property in the WebLink enum like this:
enum WebLink: String, Identifiable {
    case rateUs = "https://www.apple.com/ios/app-store"
    case feedback = "https://www.appcoda.com/contact"
    case twitter = "https://www.twitter.com/appcodamobile"
    case facebook = "https://www.facebook.com/appcodamobile"
    case instagram = "https://www.instagram.com/appcodadotcom"

    var id: UUID {
        UUID()
    }
}
Here we use a universally unique identifier (UUID), which is guaranteed always unique, as the identifier. Once you update the WebLink enum, the Xcode error should vanish.
Lastly, except the Rate us on App Store label, update the rest of the labels with an .onTapGesture modifier:
Section {
    Link(destination: URL(string: WebLink.rateUs.rawValue)!, label: {
        Label("Rate us on App Store", image: "store")
            .foregroundColor(.primary)
    })

    Label("Tell us your feedback", image: "chat")
        .onTapGesture {
            link = .feedback
        }
}

Section {
    Label("Twitter", image: "twitter")
        .onTapGesture {
            link = .twitter
        }

    Label("Facebook", image: "facebook")
        .onTapGesture {
            link = .facebook
        }

    Label("Instagram", image: "instagram")
        .onTapGesture {
            link = .instagram
        }
}
When tapped, we set the link variable to the relevant URL. Run the app in the preview pane or in the simulator, you can bring up a web view as a modal view when tapping one of the labels.
Using SFSafariViewController
Earlier, we use WKWebView to display web content within the app. In this section, we will make use of SFSafariViewController to embed a web browser. If you are new to SFSafariViewController, this class provides a full-featured web browser just like the one built into iOS.
Similarly, we need to create a custom SwiftUI view for SFSafariViewController using UIViewRepresentable. Right click the View folder in the project navigator and create a new file. Select the Swift File template and name the file SafariView. Update the file content like this:
import SwiftUI
import SafariServices

struct SafariView: UIViewControllerRepresentable {

    var url: URL

    func makeUIViewController(context: Context) -> SFSafariViewController {
        return SFSafariViewController(url: url)
    }

    func updateUIViewController(_ uiViewController: SFSafariViewController, context: Context) {

    }
}
This SafariView accepts a URL object and we instantiate a SFSafariViewController with that URL in makeUIViewController. This is how we integrate SFSafariViewController with SwiftUI projects.
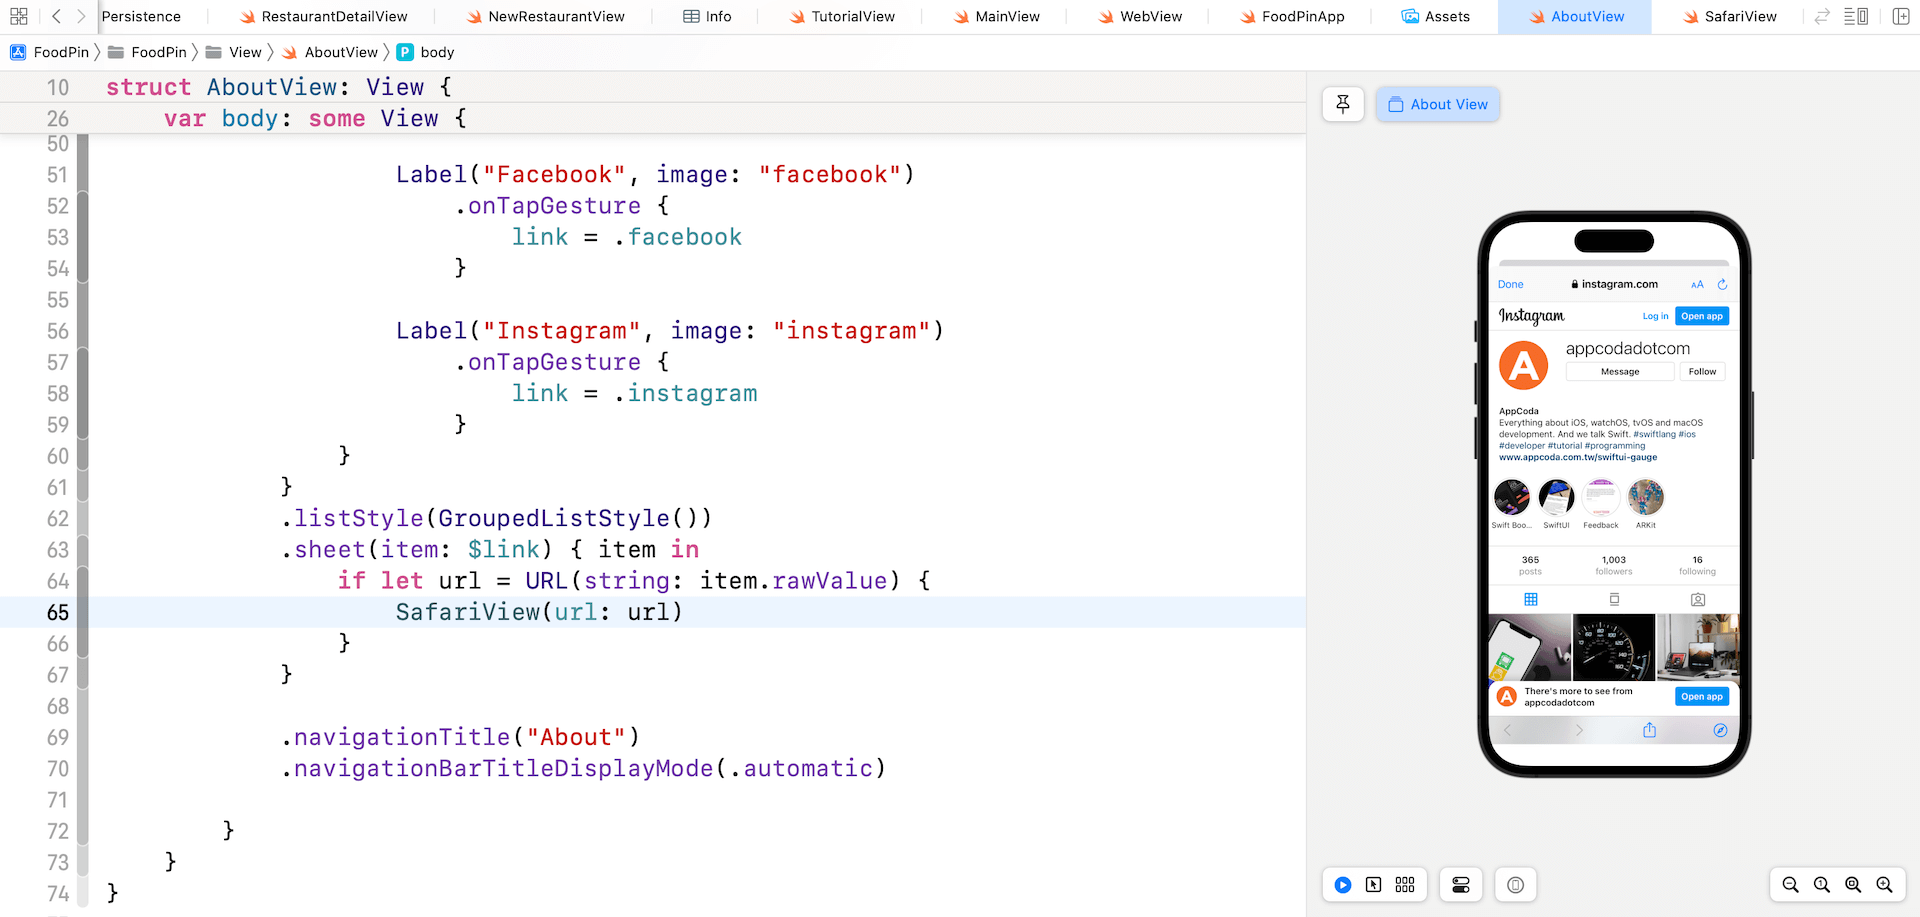
Now switch over to AboutView.swift to replace WebView with SafariView like this:
.sheet(item: $link) { item in
    if let url = URL(string: item.rawValue) {
        SafariView(url: url)
    }
}
Instead of WebView, the app will use SafariView to present the web content. Run the app to test it out. As you can see in figure 22-6, this Safari view comes with back and forward buttons. This is the power of SFSafariViewController. If you need to display a full featured browser within your app, you can opt for SFSafariViewController.
Summary
We have explored three options for displaying web content. You do not need to use all options in your app like we did. It is just for demo purpose.
The SFSafariViewController class provides developers a simple way to embed a web browser in your app. If your app needs to provide a first class browsing experience for your user, the Safari view controller should save you a lot of time from creating your own version of web browser.
In some cases, you may just want a simple web view to display web content. WKWebView will be probably your choice.
Take some time to study all the web browsing options and pick the one that most fits your need.
For reference, you can download the complete Xcode project from http://www.appcoda.com/resources/swift57/swiftui-foodpin-webview.zip.