- Made by AppCoda
- Contact us / Support
- Tweet this book
- Preface
- 1. The Development Tools, the Learning Approach, and the App Idea
- 2. Your First Taste of Swift with Playgrounds
- 3. Build Your First App in Swift and SwiftUI
- 4. Designing UI Using Stack Views
- 5. Introduction to Prototyping
- 6. Understanding List and ForEach
- 7. Customizing List Views
- 8. Displaying Confirmations and Handling List View Selection
- 9. Understanding Struct, Project Organization and Code Documentation
- 10. List Deletion, Swipe Actions, Context Menus and Activity Controller
- 11. Working with Navigation View
- 12. Detail View Enhancement, Custom Fonts and Navigation Bar Customization
- 13. Understanding Colors, Swift Extensions and Dynamic Type
- 14. Working with Maps
- 15. View Animations and Blur Effect
- 16. Working with Observable Objects and Combine
- 17. Working with Forms and Camera
- 18. Working with Core Data
- 19. Adding a Search Bar Using Searchable
- 20. Building Walkthrough Screens Using TabView
- 21. Working with Tab View and Tab Bar Customizations
- 22. Displaying Web Content with WKWebView and SFSafariViewController
- 23. Working with CloudKit
- 24. Localizing Your App to Support Multiple Languages
- 25. Deploying and Testing Your App on a Real iOS Device
- 26. Beta Testing with TestFlight and CloudKit Production Deployment
- 27. Submit Your App to App Store
- 28. Adopting Haptic Touch
- 29. Working with User Notifications
- 30. Appendix - Swift Basics
- Published with GitBook
Chapter 27
Submit Your App to App Store

Don't let people tell you your ideas won't work. If you're passionate about an idea that's stuck in your head, find a way to build it so you can prove to yourself that it doesn't work.
- Dennis Crowley, FourSquare
Congratulations! You have probably worked weeks or months before coming to the last step of app development. After beta testing and numerous bug fixing, your app is finally ready for submission.
You already uploaded your app binary to iTunes Connect in the previous chapter, so it is quite straightforward to submit your app to App Store. Once you submit your app, it will be reviewed by Apple's App Review team before publishing it onto App Store. For a first-time app developer, submitting an app to the app store can be a nightmare. You may need to submit your app multiple times before Apple approves it.
In this chapter, I will walk you through the app submission process and give you some guidelines to minimize the possibility of app rejections.
Get Prepared and Well-Tested
From a developer's point of view, the app approval process is a black box. I still remembered how frustrated I felt when I submitted my first app to App Store and the app was rejected by Apple. Since then, I've learned that there are a few things you can do to minimize the likelihood of rejection.
- Test your app thoroughly - Have you tested your app before submission? If you followed the previous two chapters, you should have tested your app on a real device and invited a group of beta testers to try it out. But let me emphasize again the importance of testing. You shouldn't just test your app using the built-in simulator - you have to test it at least on one real iOS device. If the app is a universal app, remember to test it on both iPhone and iPad. If your app integrates with other services like iCloud, make sure you test it on both cellular and Wi-Fi networks. Whenever possible, follow the instructions in the previous chapter to beta test your app. If you submit an app that can't run properly or crashes unexpectedly, Apple will definitely reject it. Also, remember to test your app under both normal and exceptional scenarios. Let's say, your app requires an internet connection to work properly. What happens if the device has no signal? Will the app crash? Or it just displays a nice error message? This is something you have to take care of and make sure your app works in all situations.
- Follow the App Store review guidelines - Even though we said the app store process is like a black box, Apple does provide a review guideline for developers' reference. You can access the guideline at https://developer.apple.com/app-store/review/guidelines/. Although I recommend you read it thoroughly, here are a few main points:
- Apps that crash will be rejected
- Apps that exhibit bugs will be rejected
- Apps that do not perform as advertised by the developer will be rejected
- Apps that include undocumented or hidden features inconsistent with the description of the App will be rejected
- Apps that use non-public APIs will be rejected
You should also take note when your app title includes any of Apple's trademarks. I once created a book app about iOS and named it iPhone Handbook. The app was rejected immediately by Apple. Later, I changed the app title to Handbook for iPhone and the app was approved. Apple allows the use of Apple trademarked phrases and words when used in a referential phrase such as for.
For details, you can check out Apple's guideline at: https://www.apple.com/legal/intellectual-property/guidelinesfor3rdparties.html.
- Meet the User Interface requirement - the app UI should be clean and user-friendly. Otherwise, Apple may reject your app due to substandard UI design. You can refer to UI Design Dos and Don'ts for details.
- Broken links - All links embedded in your app must be functional. No broken links are allowed.
- Finalize all images and text - All your images and text in your app should be finalized before submitting your app for review. Your app will be rejected if it contains any placeholder content.
For more information about the common pitfalls that cause app rejections, you can refer to https://developer.apple.com/app-store/review/rejections/. Furthermore, don't forget to check out the App Store Review guidelines (https://developer.apple.com/app-store/review/guidelines/).
Submit Your App to App Store
If you haven't read chapter 26, please go back to read about the procedures of creating an app record on iTunes Connect and uploading an app archive.
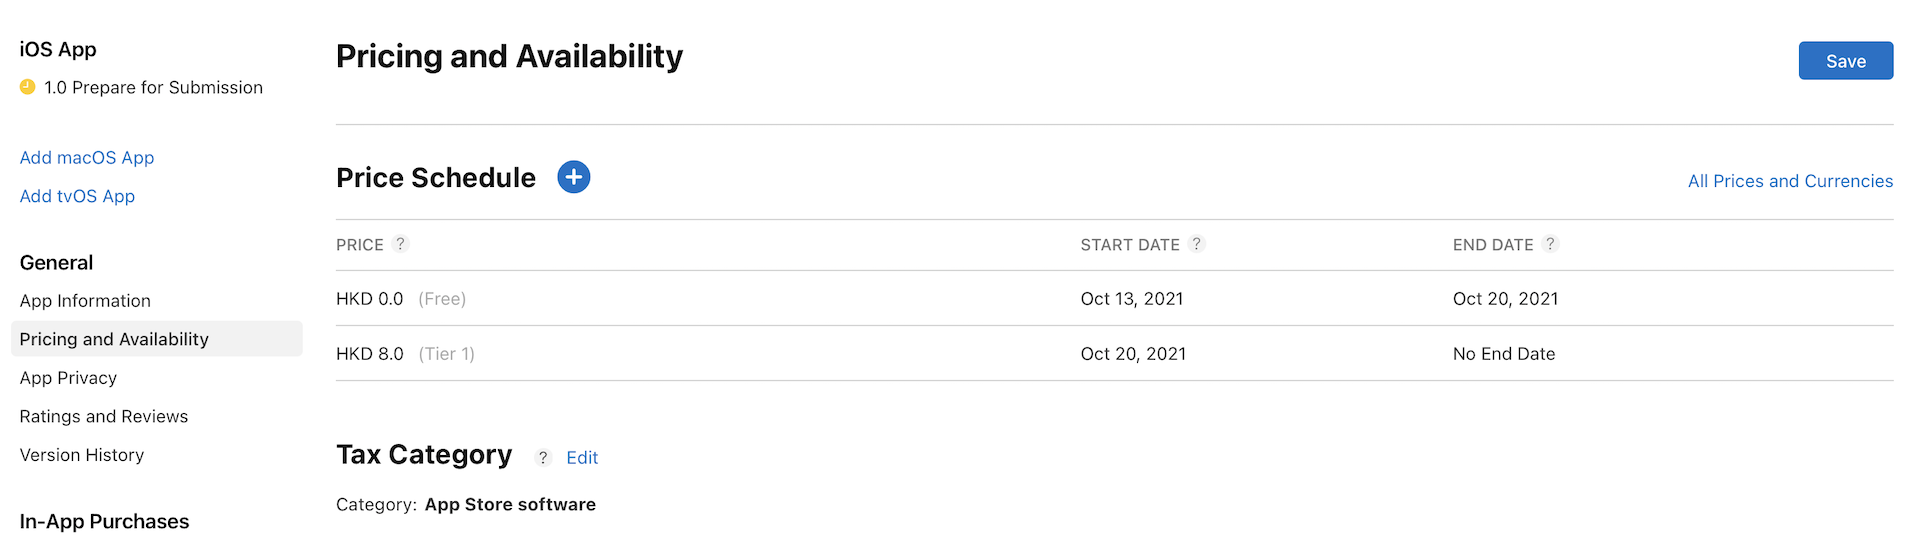
Now go to https://appstoreconnect.apple.com and select My Apps. Then select the FoodPin app (or the name of your app). Assuming you have completed all of the required information in App Information, click Pricing and Availability in the side menu. If you have set your price before, this is a good chance to review your settings again. The latest version of App Store Connect allows developers to plan a price change. Let's say, you want to offer your app for free when it is first released. After a certain period of time, you change it to a paid app. The Plan a Price Change option can help you plan ahead for future price changes.
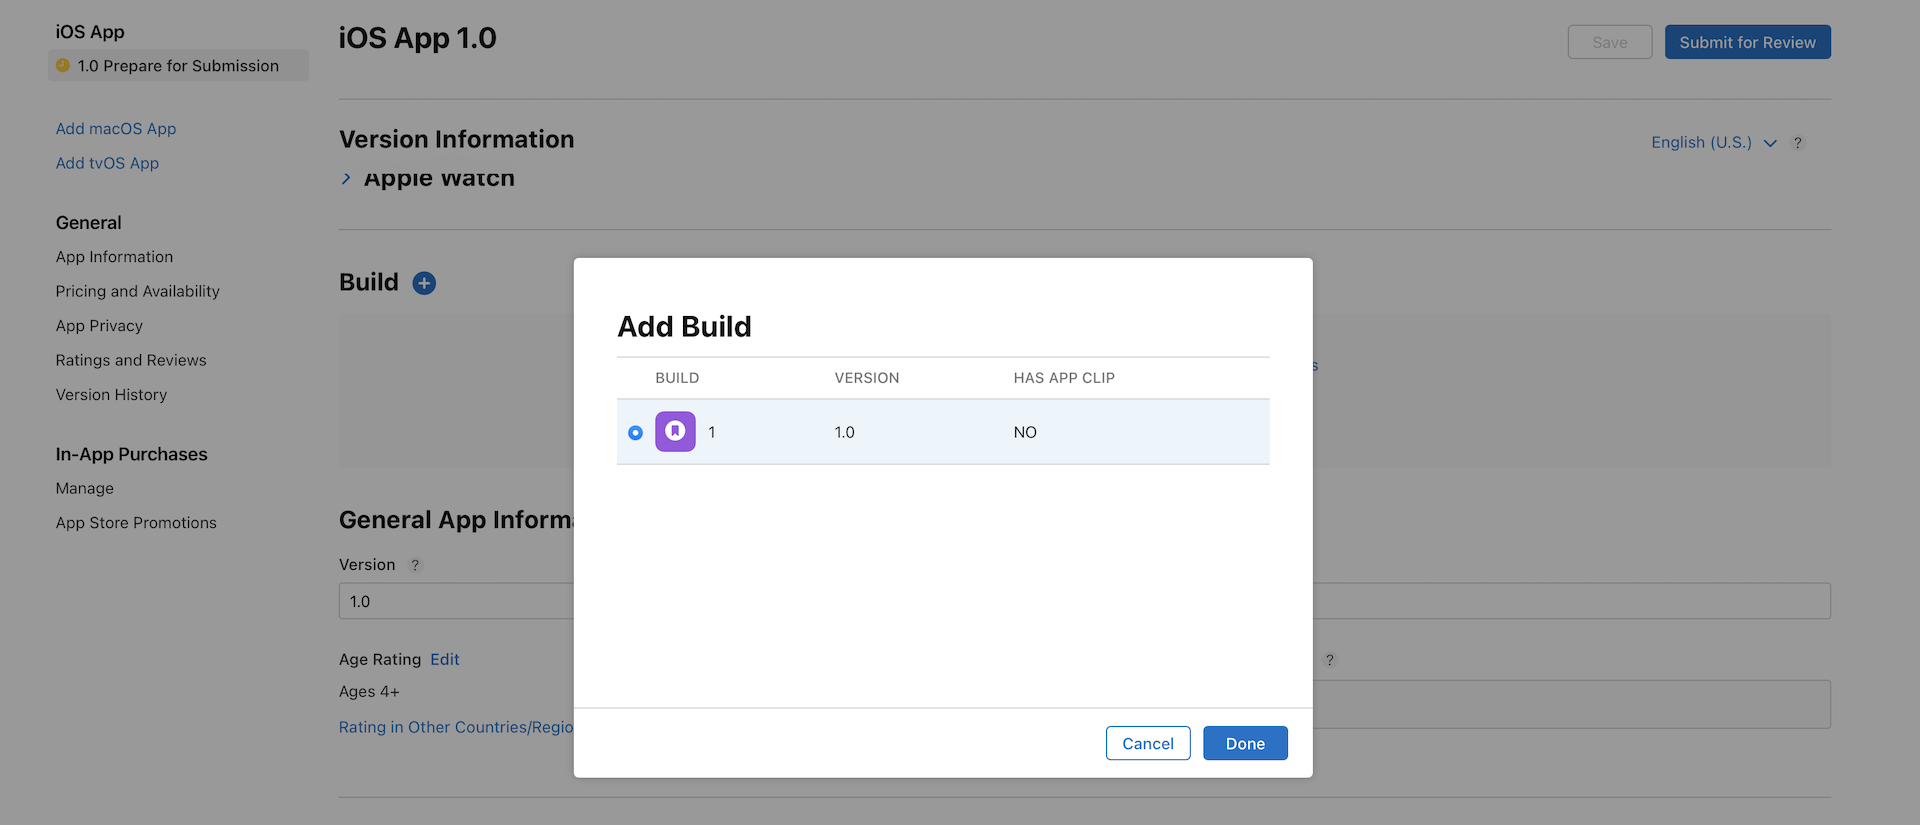
Next, go to the Prepare for Submission option. Scroll down to the Build section. Click Select a build before you submit your app to add a build and select the one you want to submit.
Finally, save the changes and click the Submit for Review button to submit your app. Once you fill in the Export Compliance, Content Rights, and Advertising Identifier, your app is ready for submission.
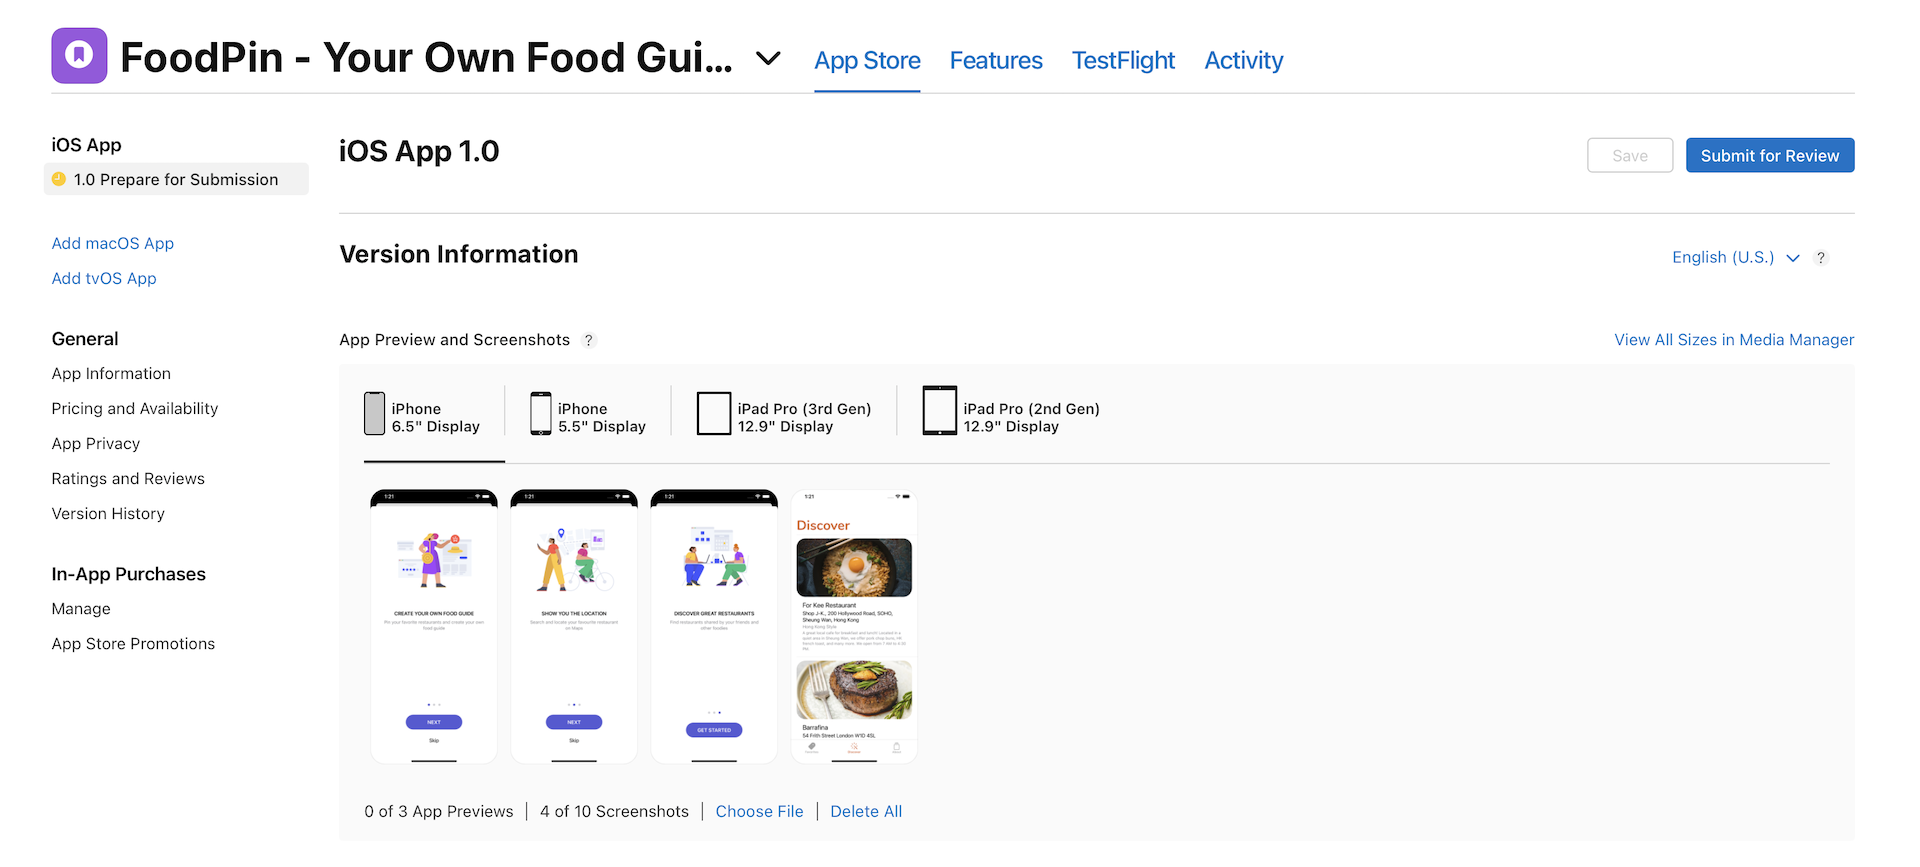
After you successfully submit your app, the status will be changed to Waiting for Review.
Now, what's next? That's it. There is nothing you can do right now except wait. In the past, you would have to wait for around 7 days before your app was approved (or rejected). In recent years, Apple started to cut the approval time from more than a week to less than two days.
On average, 50% of apps are reviewed in 24 hours and over 90% are reviewed in 48 hours.
So be patient and wait. You will receive an email notification when your app is approved or rejected.
Summary
Once again, congratulations! You have built a real app and learned how to submit it to the App Store. I hope your app will be approved by Apple the first time you submit it. Even if it's rejected, don't get frustrated - many iOS developers share the same experience. Just fix the issue and re-submit your app again.
If your app got approved, don't forget to share your app with me and other readers on our private Facebook group (https://facebook.com/groups/appcoda).
This isn't the end. I still got a couple of things to share in the next chapter.