- Made by AppCoda
- Contact us / Support
- Tweet this book
- Preface
- 1. The Development Tools, the Learning Approach, and the App Idea
- 2. Your First Taste of Swift with Playgrounds
- 3. Build Your First App in Swift and SwiftUI
- 4. Designing UI Using Stack Views
- 5. Introduction to Prototyping
- 6. Understanding List and ForEach
- 7. Customizing List Views
- 8. Displaying Confirmations and Handling List View Selection
- 9. Understanding Struct, Project Organization and Code Documentation
- 10. List Deletion, Swipe Actions, Context Menus and Activity Controller
- 11. Working with Navigation View
- 12. Detail View Enhancement, Custom Fonts and Navigation Bar Customization
- 13. Understanding Colors, Swift Extensions and Dynamic Type
- 14. Working with Maps
- 15. View Animations and Blur Effect
- 16. Working with Observable Objects and Combine
- 17. Working with Forms and Camera
- 18. Working with Core Data
- 19. Adding a Search Bar Using Searchable
- 20. Building Walkthrough Screens Using TabView
- 21. Working with Tab View and Tab Bar Customizations
- 22. Displaying Web Content with WKWebView and SFSafariViewController
- 23. Working with CloudKit
- 24. Localizing Your App to Support Multiple Languages
- 25. Deploying and Testing Your App on a Real iOS Device
- 26. Beta Testing with TestFlight and CloudKit Production Deployment
- 27. Submit Your App to App Store
- 28. Adopting Haptic Touch
- 29. Working with User Notifications
- 30. Appendix - Swift Basics
- Published with GitBook
Chapter 16
Working with Observable Objects and Combine

Failure is an option here. If things are not failing, you are not innovating enough.
– Elon Musk
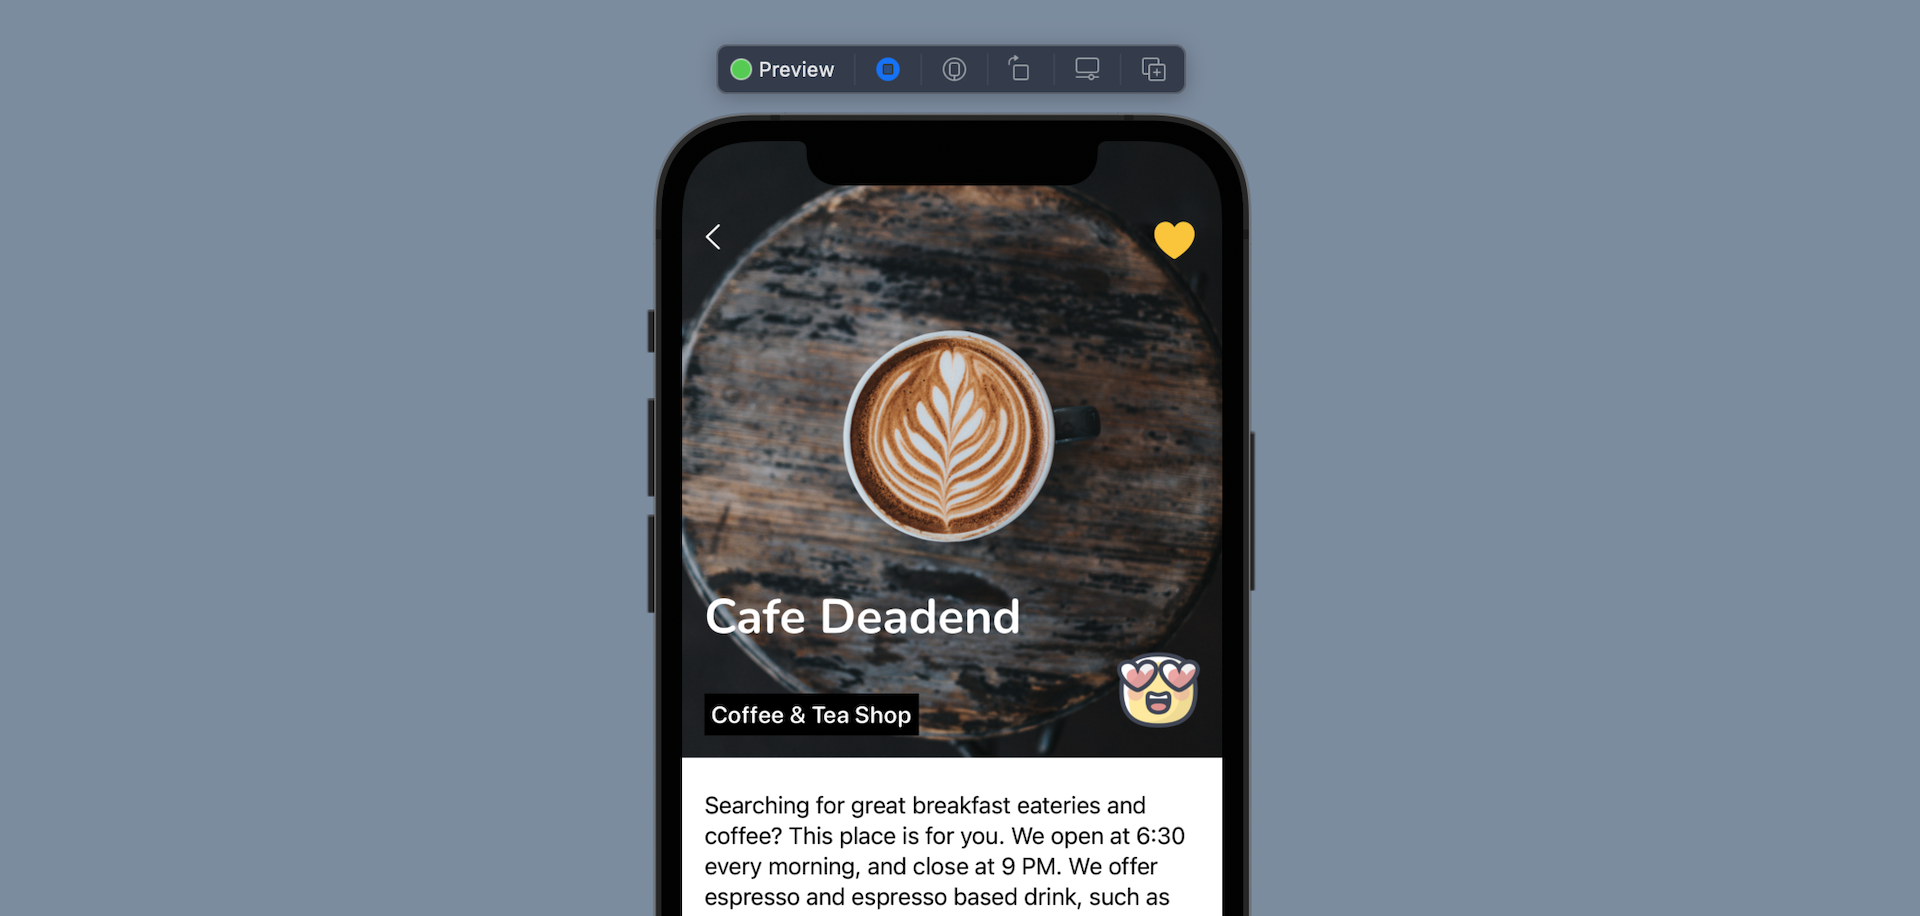
Previously, we added the Review screen for users to rate a restaurant. The rating buttons are not yet functional. When a rating is selected, the expected behaviour is that the review view dismisses itself and the selected rating will show up in the detail view. In this chapter, we will discuss the implementation.
On top of that, I will give you a brief introduction to Combine, which was a new framework introduced along with SwiftUI. Combine lets you easily monitor a single object and get notified of changes. Working along with SwiftUI, we can trigger an update of a view without writing a line of code. Everything is handled behind the scenes by SwiftUI and Combine.
The Problem with our Existing Design
Now let's see how to handle the rating selection. If you open Restaurant.swift, you should notice that the Restaurant struct doesn't have a property to store the user's rating. We can add a new property named rating in the Restaurant struct like this:
var rating: Rating?
The rating variable is defined as an optional because a user may not give the restaurant a rating. With this change, we also need to update the init method like this:
init(name: String, type: String, location: String, phone: String, description: String, image: String, isFavorite: Bool = false, rating: Rating? = nil) {
    self.name = name
    self.type = type
    self.location = location
    self.phone = phone
    self.description = description
    self.image = image
    self.isFavorite = isFavorite
    self.rating = rating
}
Now let's head back to ReviewView.swift. To detect the user selection, we can attach the .onTapGesture to the HStack view and place it after the .animation modifier:
.onTapGesture {
    self.restaurant.rating = rating
    self.isDisplayed = false
}
Oops! Xcode immediately prompts us the following error:

The reason is that the restaurant variable is immutable, which means we are not allowed to update its values.
So, how can we update the rating property of the restaurant?
Should we annotate the restaurant variable with @State? This can fix the error and update the rating. However, the change is only visible to ReviewView. How can we notify the change of rating to the detail view for displaying the user's selected rating?
Using Observable Object
The Combine framework comes with a protocol called ObservableObject. By adopting this protocol, the object itself can notify other views whenever its property's value is changed.
To use ObservableObject, we need to make some changes to the Restaurant struct. To adopt ObservableObject, we have to declare Restaurant as a class instead of a struct.
Now open Restaurant.swift and replace the content like this:
import Combine

class Restaurant: ObservableObject {

    enum Rating: String, CaseIterable {
        case awesome
        case good
        case okay
        case bad
        case terrible

        var image: String {
            switch self {
            case .awesome: return "love"
            case .good: return "cool"
            case .okay: return "happy"
            case .bad: return "sad"
            case .terrible: return "angry"
            }
        }

    }

    @Published var name: String
    @Published var type: String
    @Published var location: String
    @Published var phone: String
    @Published var description: String
    @Published var image: String
    @Published var isFavorite: Bool = false
    @Published var rating: Rating?

    init(name: String, type: String, location: String, phone: String, description: String, image: String, isFavorite: Bool = false, rating: Rating? = nil) {
        self.name = name
        self.type = type
        self.location = location
        self.phone = phone
        self.description = description
        self.image = image
        self.isFavorite = isFavorite
        self.rating = rating
    }
}
If you compare the code with the original Restaurant struct, they look very similar. The Rating enum and the init method are the same. We just declared Restaurant as a class and adopted the ObservableObject protocol. On top of that, all properties are annotated with @Published.
@Published is a property wrapper that works along with ObservableObject. When a property is prefixed with @Publisher, this indicates that the publisher (i.e. Restaurant) should inform all subscribers (i.e. views) whenever the property's value is changed.
The Restaurant class is so similar to the original struct that you don't need to make any changes to other code. Most importantly, Xcode no longer complains about the following code added in ReviewView:
.onTapGesture {
    self.restaurant.rating = rating
    self.isDisplayed = false
}
Hit the Play button and test the app on a simulator. You should be able to run it without any errors.
Displaying the Rating in Detail View
Now switch over to RestaurantDetailView.swift. We have to update the detail view to display the selected rating. Look for the code for presenting the restaurant name and type:
VStack(alignment: .leading) {
    Text(restaurant.name)
        .font(.custom("Nunito-Regular", size: 35, relativeTo: .largeTitle))
        .bold()
    Text(restaurant.type)
        .font(.system(.headline, design: .rounded))
        .padding(.all, 5)
        .background(Color.black)
}
.frame(minWidth: 0, maxWidth: .infinity, minHeight: 0, maxHeight: .infinity, alignment: .bottomLeading)
.foregroundColor(.white)
.padding()
To display the rating icon, wrap the VStack view with a HStack view. And then we use an Image view to render the rating. Here is the complete code:
HStack(alignment: .bottom) {
VStack(alignment: .leading) {
Text(restaurant.name)
.font(.custom("Nunito-Regular", size: 35, relativeTo: .largeTitle))
.bold()
Text(restaurant.type)
.font(.system(.headline, design: .rounded))
.padding(.all, 5)
.background(Color.black)
}
.frame(minWidth: 0, maxWidth: .infinity, minHeight: 0, maxHeight: .infinity, alignment: .bottomLeading)
.foregroundColor(.white)
.padding()
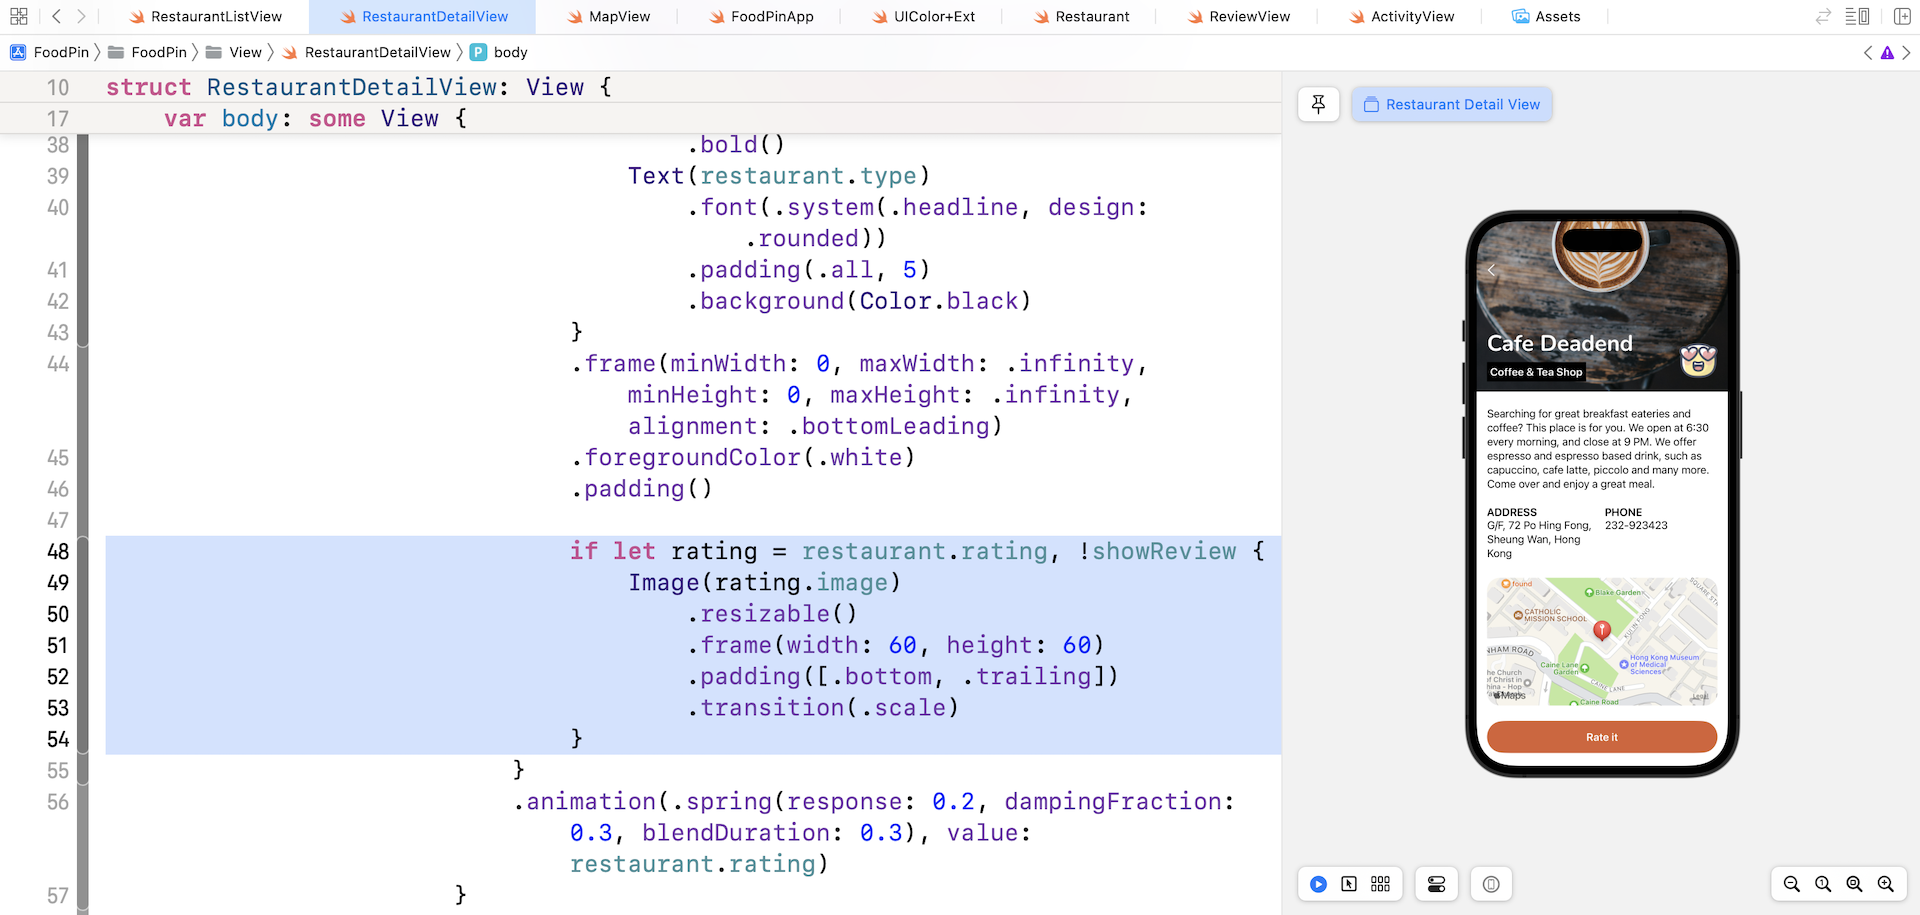
if let rating = restaurant.rating, !showReview {
Image(rating.image)
.resizable()
.frame(width: 60, height: 60)
.padding([.bottom, .trailing])
.transition(.scale)
}
}
.animation(.spring(response: 0.2, dampingFraction: 0.3, blendDuration: 0.3), value: restaurant.rating)
We use if let to verify if restaurant.rating has a value before presenting the image view. If there is no rating, we will not display the image view. To touch up the appearance of the rating image, we added the animation modifier and apply the spring animation.
This is the power of ObservableObject. Recall that the rating property of Restaurant is annotated with @Published, whenever there is any value changes, the object informs all related views.
Run the app in a simulator or in the preview pane. Once you choose a rating in the review screen, the detail view displays the corresponding image with a nice animation.
Summary
In this chapter, I gave you a brief introduction to the Combine framework. With ObservableObject, we can easily monitor value change of an object. There are a lot more to cover for the framework. If you want to dive deeper into Combine, I recommend you to check out these videos:
- https://developer.apple.com/videos/play/wwdc2019/722/
- https://developer.apple.com/videos/play/wwdc2019/721/
For reference, you can download the complete Xcode project from http://www.appcoda.com/resources/swift57/swiftui-foodpin-observableobject.zip. The solution to the exercises is included in the project.