- Made by AppCoda
- Contact us / Support
- Tweet this book
- Preface
- 1. The Development Tools, the Learning Approach, and the App Idea
- 2. Your First Taste of Swift with Playgrounds
- 3. Build Your First App in Swift and SwiftUI
- 4. Designing UI Using Stack Views
- 5. Introduction to Prototyping
- 6. Understanding List and ForEach
- 7. Customizing List Views
- 8. Displaying Confirmations and Handling List View Selection
- 9. Understanding Struct, Project Organization and Code Documentation
- 10. List Deletion, Swipe Actions, Context Menus and Activity Controller
- 11. Working with Navigation View
- 12. Detail View Enhancement, Custom Fonts and Navigation Bar Customization
- 13. Understanding Colors, Swift Extensions and Dynamic Type
- 14. Working with Maps
- 15. View Animations and Blur Effect
- 16. Working with Observable Objects and Combine
- 17. Working with Forms and Camera
- 18. Working with Core Data
- 19. Adding a Search Bar Using Searchable
- 20. Building Walkthrough Screens Using TabView
- 21. Working with Tab View and Tab Bar Customizations
- 22. Displaying Web Content with WKWebView and SFSafariViewController
- 23. Working with CloudKit
- 24. Localizing Your App to Support Multiple Languages
- 25. Deploying and Testing Your App on a Real iOS Device
- 26. Beta Testing with TestFlight and CloudKit Production Deployment
- 27. Submit Your App to App Store
- 28. Adopting Haptic Touch
- 29. Working with User Notifications
- 30. Appendix - Swift Basics
- Published with GitBook
Chapter 19
Adding a Search Bar Using Searchable

I knew that if I failed I wouldn't regret that, but I knew the one thing I might regret is not trying.
– Jeff Bezos
For most of the list-based apps, it is common to have a search bar at the top of the screen. How can you implement a search bar for data searching? In this chapter, we will add a search bar to the FoodPin app. With the search bar, we will enhance the app to let users search through the available restaurants.
Prior to iOS 15, SwiftUI didn't come with a built-in modifier for handling search in List views. Developers have to create your own solution. In our Mastering SwiftUI book, we have written a chapter showing you how to create a custom search bar in SwiftUI using TextField and display the search result.
Starting with iOS 15, the SwiftUI framework introduced a modifier named searchable to List views. You can simply attach the modifier to a list view and create a search field.
Using Searchable
In general, to add a search bar in a navigation bar, it essentially comes down to the following line of code:
.searchable(text: $searchText)
Say, we have a List view embedded in a navigation view (or stack), you can add a search bar by attaching the searable modifier to the navigation view. Here is an example:
struct SearchListView: View {

    @State private var searchText = ""

    var body: some View {
        NavigationStack {
            .
            .
            .
        }
        .searchable(text: $searchText)
    }
}
The state variable is used hold the search text that a user types in the search field. With a couple lines of code, SwiftUI will automatically renders the search bar for you and put it under the navigation bar title.
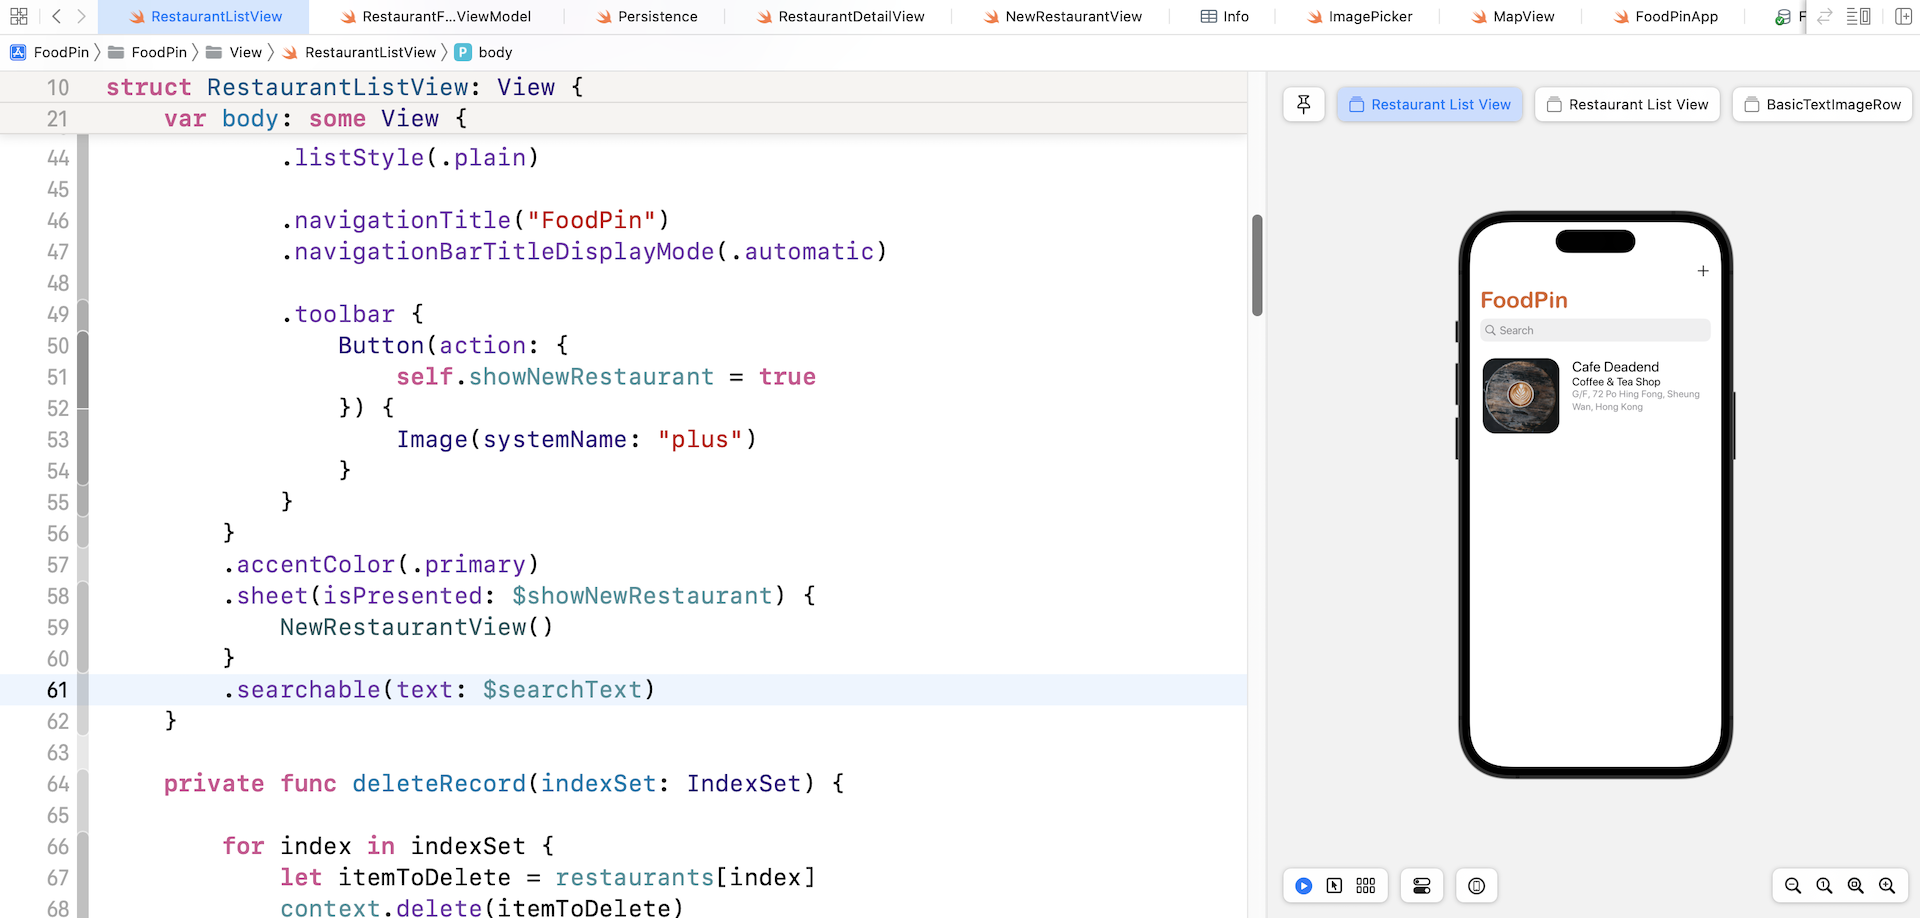
Adding a Search Bar to the Restaurant List View
Now let's try to add a search bar in the FoodPin app. Open RestaurantListView.swift, declare the following state variable:
@State private var searchText = ""
Next, attach the searchable modifier to NavigationView:
NavigationStack {
  .
  .
  .
}
.searchable(text: $searchText)
As I have explained the code before, I will not go over it again. Once you added the modifier, the navigation bar should appear right above the list view.
By default, it displays the word Search as a placeholder. In case if you want to change it, you can write the .searchable modifier like below and specify your own placeholder value in the prompt parameter:
.searchable(text: $searchText, prompt: "Search restaurants...")
Search Bar Placement
The .searchable modifier has a placement parameter for you to specify where to place the search bar. By default, it’s set to .automatic. On iPhone, the search bar is placed under the navigation bar title. You may need to drag down the list view to reveal the search bar.
If you want to permanently display the search field, you can change the .searchable modifier and specify the placement parameter like this:
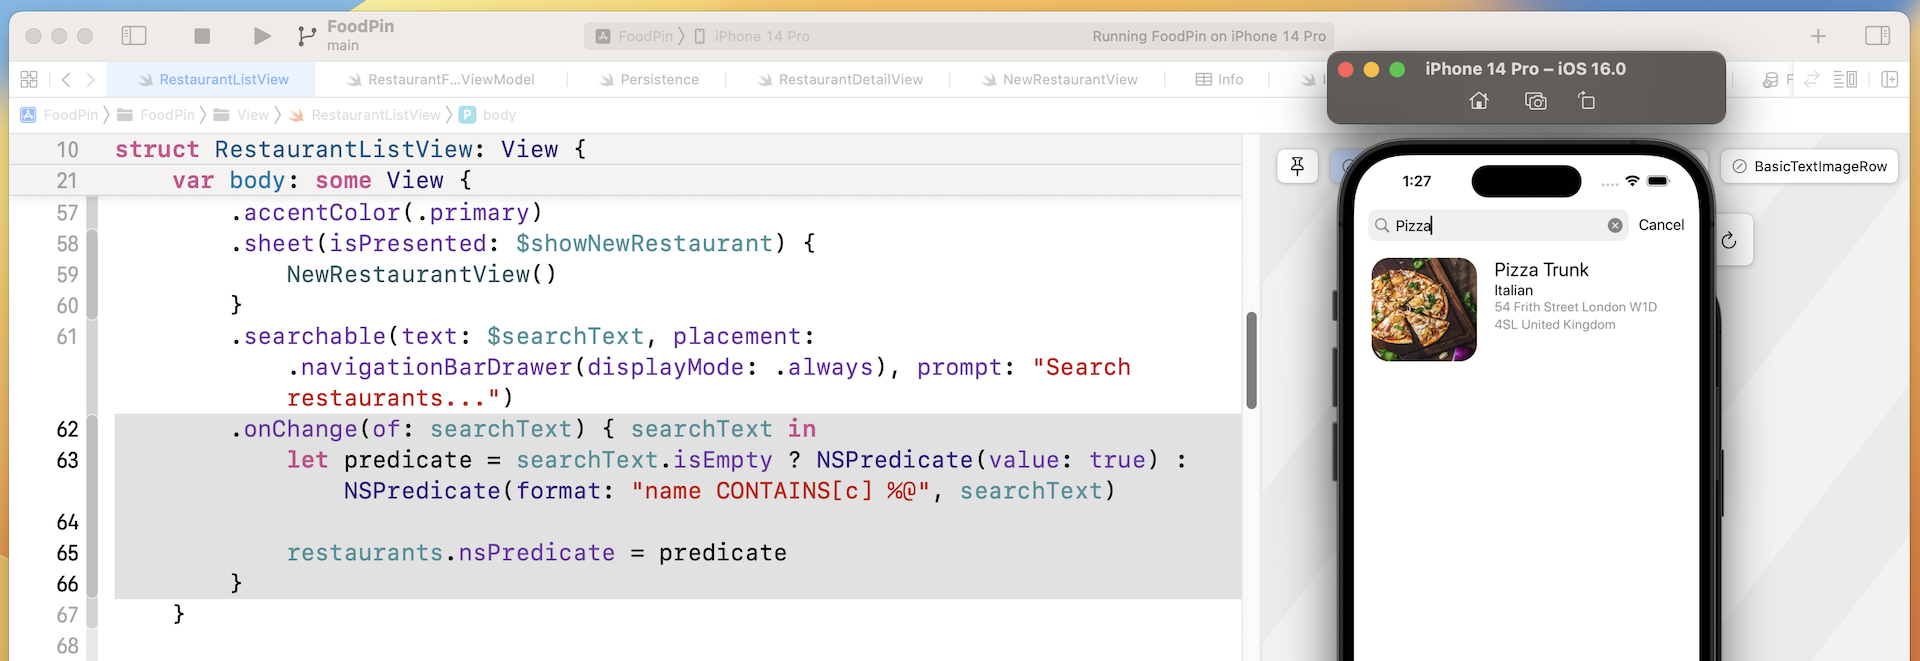
.searchable(text: $searchText, placement: .navigationBarDrawer(displayMode: .always), prompt: "Search restaurants...")
So far, we attach the .searchable modifier to the navigation view. You can actually attach it to the List view and achieve the same result on iPhone.
That said, the placement of the .searchable modifier affects the position of the search field when using split view on iPad OS. You can further check out this tutorial (https://www.appcoda.com/swiftui-searchable/) if you want to learn more about the placement parameter.
Performing Search and Displaying Search Results
The search bar doesn't provide any default functions to filter your data. It's your responsibility to develop your own implementation to filter the content. For the FoodPin app, it allows users to do a search against the name of a restaurant.
You have two ways to filter the content and search for the results. First, you may compute the search result by filtering the existing restaurants array. In Swift, there is a built-in method called filter for filtering an existing array. You use filter to loop over a collection and return a new array containing those items that match the specified condition. For example, the new array can only contain restaurants with the name starts with "up".
The filter method takes in a block of code in which you provide the filtering rule. For those elements to be included, you indicate with a return value of true. Otherwise, false is returned and that element will be excluded. Here is a sample code snippet:
.onChange(of: searchText) { searchText in
    if !searchText.isEmpty {
        let searchResult = restaurants.filter { $0.name.contains(searchText) }
    }
}
In the code above, we use the onChange modifier to monitor the change of search text. When there is a change, we use the contains method to see if the restaurant name contains the search text. If the search text is found, the method returns true, indicating the restaurant name should be included in the new array. Otherwise, a false is returned to exclude the item.
An alternate approach is to execute the search query using Core Data. The @FetchRequest property allows developers to specify a predicate that specifies which properties to filter by and the constraints on the selection of data. For example, if you want to fetch those restaurants with the name containing the term "cafe", you can add the predicate parameter to the fetch request:
@FetchRequest(
    entity: Restaurant.entity(),
    sortDescriptors: [],
    predicate: NSPredicate(format: "name CONTAINS[c] %@", "cafe"))
The operator CONTAINS[c] will match all the restaurants that its name contains the word "cafe". The [c] part means it's a case insensitive search.
However, we will not hardcode the predicate parameter like the code above because the search text can be changed. Instead, we will create the predicate at runtime whenever there is a search query.
Attach the onChange modifier to the navigation stack like this:
.onChange(of: searchText) { searchText in
    let predicate = searchText.isEmpty ? NSPredicate(value: true) : NSPredicate(format: "name CONTAINS[c] %@", searchText)

    restaurants.nsPredicate = predicate
}
When a user activates the search, we create a predicate based on the search keyword. And then we assign the predicate to the nsPredicate property of the restaurants object.
Cool! You're ready to fire up your app and test out the search function. What's great is that you can navigate to the restaurant details by tapping the search results. You do not need to write any code change to make the feature work.
Search Suggestions
The .searchable modifier lets you add a list of search suggestions for displaying some commonly used search terms or search history. For example, you can create tappable search suggestion like this:
.searchable(text: $searchText, placement: .navigationBarDrawer(displayMode: .always), prompt: "Search restaurants...") {
    Text("Thai").searchCompletion("Thai")
    Text("Cafe").searchCompletion("Cafe")
}
This displays a search suggestion with two tappable search terms. Users can either type the search keyword or tap the search suggestion to perform the search.

Exercise #1
Now the app only allows users to search restaurants by name. Your exercise is to enhance the search feature so that it supports location search too. For example, if your user keys in Sydney in the search field, the app searches through the restaurant list and shows you the restaurants that are either located in Sydney or have "Sydney" in the restaurant name.
Summary
By now, you should know how to implement a search bar in an iOS app. We've made the FoodPin app even better by enhancing it with a search feature; this search feature is particularly important when you have a large amount of information to display. If you still don't fully understand the search bar feature, go back and work through this chapter the second time before moving onto the next one.
For reference, you can download the complete Xcode project from http://www.appcoda.com/resources/swift57/swiftui-foodpin-search.zip. The solution of the exercise is included.